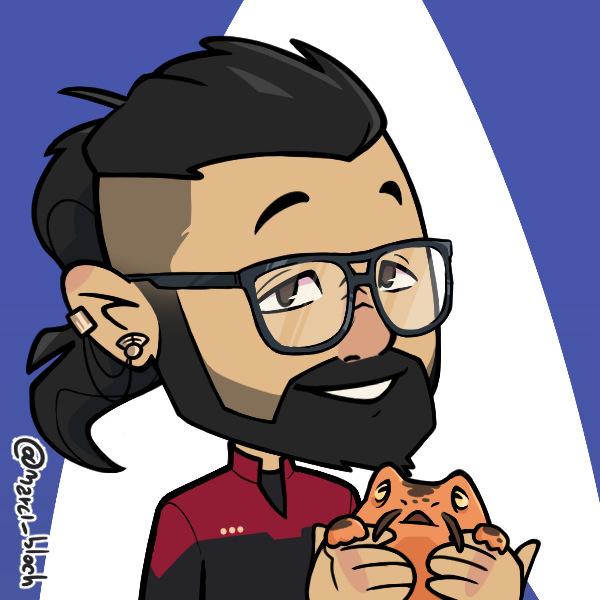
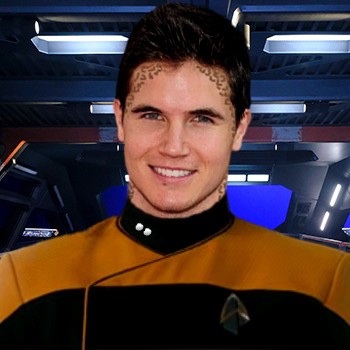
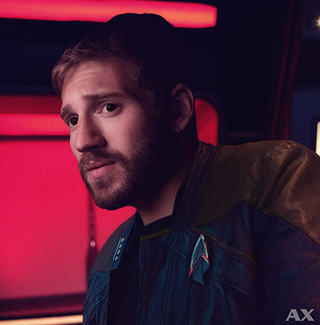
Previously on USS Pioneer
A small team from Pioneer went undercover to Valkoran Base, a civilian operated, Klingon aligned base near the Romulan border. Following intelligence that a recently encountered devolution virus was being auctioned on the base they soon found their undercover ruse exposed and the team were to become an example of this new, deadly virus. After managing to fashion a temporary antidote using the station’s replicator systems (dispelling a dangerously devolved Tholian into space in the process) the team made their way to environmental controls and after a face off with two seemingly unaffected Remans, released the antidote into the station’s atmosphere. Now they must find a way to escape the base and it’s deadly barricade of Klingon sentinels.
Part 1 – A Medic Arrives.
As Charlie, Torta and their redshirt Ensign (Mr. D for short) discussed their next options they were interrupted by a series of explosions from outside the base. Shortly after their secreted comm badges sounded with the unfamiliar voice of Lieutenant Kazzix (a.k.a Kaz) calling for assistance on a Starfleet comm channel. They explained they had been dispatched by Pioneer to provide support after the vessel received a distress signal, unfortunately their shuttle had been attacked trying to sneak aboard the station and in the resulting evacuation on Kaz and an unconscious lieutenant made it aboard. He manages to identify his location as the nearby Cargo Bay Alpha, a short walk down the pontoon and serendipitously near to the docking bay that holds the Little Penny, the seized Ferengi Shuttle they came to the base on. [GM- handy that, isn’t it?] As the team instruct Kaz to wait for them Mr D leads the team out of the environmental controls, their new Reman allies willing to guard it in exchange for assistance leaving the station and the clutches of Romulan Free State. As they depart Mr. D notes that none of the three of them sent the distress call and this could be a trap.
As the team pass down the boom arm, Torta notices the Vor’cha cruiser at a distance and in what has quickly become tradition attempts to offer it the middle finger. Unfortunately, just as they raise their hands a piece of debris rolls by the window and the charred remnants of a panel reading ‘USS Pioneer’ silently glide across their sight, the frozen mustard shouldered body of a dead security officer clinging to it as it disappears into space. Overcome with sudden loss Torta opts not to continue with his plan to give the Klingons the middle finger and the team carry on.
They quickly arrive in Cargo Bay Alpha and after consulting with their new comrade they realise that they will need to evacuate the base together. The injured Lieutenant who came aboard with Kaz is stable but requires more advanced care than the doctor can offer in the field. The team question him as to how this occurred and Kaz reveals that Pioneer received a distress call from Cerberus, Starfleet’s intelligence operative aboard the station and dispatched the away team. The reinforcements coasted into sensor range on a depowered shuttle in the hopes that they would avoid detection by the surrounding guards and be able to beam aboard, as they powered up the transporters the shuttle was detected and fired upon, only Kaz and the wounded Lieutenant made it off the shuttle. The team decide to make for the Shuttle Bay and the Little Penny to evacuate, taking Kaz and the wounded officer (using a grav sled to ease his travel) with them.
When they approached the bay they found the shuttle in lockdown and surrounded by armed guards. With no way to make it to the shuttle directly and releasing it without an overwhelming fire fight the team opt to return to Station Operations and attempt to release it from there. Hesitant to take the wounded officer with them Kaz leaves him in the care of Mr. D after a series of questions as to the young endings medical abilities, and the team holes them up in a nearby safe space until they return.
Part 2 – Fight in Operations
As the team approach operations they see that whilst it appeared abandoned on their last visit it is now inhabited by two Klingon officers and a Gorn commander. All three are wearing re-breathers as well as the sigil of House Ghalan and they appear to be bringing station controls online. The trio surmise that Grittle has ordered them to resecure the base following the team’s release of the antidote and foiling of his plans. Using the jefferies tubes they had used to enter the room last time the team set up an ambush for the Klingon officers and as Torta fires of the first shot a fast paced combat begins.
Initially the odds are in the teams favours and with the element of surprise, they quickly injure one Klingon significantly. Their success is short lived through as the second Klingon and the Gorn commander take cover behind various consoles, eliminating a vital advantage for the team who’s (with the exception of Torta) are light in their security skills. Kaz channels his Xenobiology knowledge and manages to daze the Gorn officer with a targeted strike to a nerve cluster and takes the opportunity to rush to a nearby communications console and send an emergency SOS to Pioneer. In the heat of the moment, he sends the message “S.O.S. Need Assistance”, but is unsure whether it made it out and as the Gorn comes back to his senses Kaz is forced to take cover behind a nearby chair as several shots ring out and the nearby Klingon is struck down unconscious.
After trading a few more shots the Gorn retreats to a console at the edge of the room and begins entering command codes, the team are currently unable to see what is happening but as Torta draws the fire of the second Klingon, Charlie breaks out of the Jefferies tube towards the Commander and realises he is in the process of activating the stations Self-Destruct protocols. Charlie attempts to draw his attention away from the console, receiving some melee strikes in the process, but when that is unsuccessful decides to unleash the full power of his stolen disruptor into the unit and hope the activation sequence wasn’t complete. The console explodes violently and in the process injures the Gorn, knocking him unconscious; Charlie narrowly avoids getting caught underneath him as he falls.
Whilst Charlie has been facing off against the Gorn Torta has been exchanging fire with the second Klingon who suddenly channels his rage and rushes the Ferengi officer with his D’k tahg, striking Torta and knocking him unconscious [Torta received a full stress count and was knocked unconscious as per the game rules], a bloody wound at his side. Kaz manages to subdue the Klingon with a series of well placed shots and utilising an experimental stimulant shot of his own creation manages to bring Torta back to consciousness and mitigate the worst of the injury. As the team secure the room and begin investigating what access they have they realise the Klingons were releasing many of the command blocks they found in place earlier and they have access to station weapons, a squadron of fighters and general systems. Charlie manages to circumvent some of the final lockouts and sends an updated message to Pioneer, “S.O.S. Virus aboard, Zercan, Romulans and Klingons.” He is unable to encrypt it however and is confident the guard ships will have seen it. They also access shuttle bay controls and begin reducing the oxygen in the room (with guidance from Kaz) in an attempt to neutralise the Klingons guarding the Little Penny; planning to make a quick exit, dock with Pioneer and evacuate the system.
As they begin to make preparations to leave operations, a message from Pioneer is received, “We are here.” As a series of sensor warnings sound and the team rushes to their consoles to provide any aid they can.
Part 3 – Battle of Valkoran Base
Our perspective shifts to an exterior space combat.
Pioneer enters the edge of system and begins to approach, real time communication is available as Charlie sets up an encrypted comms link and they are able to trade information and strategy [reflecting the players having communal control of the assets]. Torta takes control of several automated Klingon fighters docked in the bay and Kaz takes direct control of Valkoran base alongside Charlie. Opposing them is a the Vor’cha class cruiser IKS Cho’ang and the D’Kora cruiser Golden Ox. Pioneer moves to engage the Vor’cha alongside the base, identifying it as the greatest tactical threat whilst Torta immediately engages the Golden Ox with a series of strafing runs from his trio of automated fighters, scoring several hits across the shields but not breaking through to the hull. As Pioneer navigates around the field of combat the Cho’Ang takes a direct course towards it and unleashes it’s main disruptor cannon, reducing the Intrepid class’s shields significantly, thankfully Pioneer withstands the initial assault. As the two separate groups trade shots back and forth Kaz manages to bring the station’s weapons to full power and unleashes a flurry of heavy phaser attacks against the distracted Cho’Ang breaking through their weakened shields and causing significant hull damage, realising the station is not under the control of the Klingon forces aboard, the cruiser comes about to engage and disable the station as the most present threat.
Golden Ox has been trading fire with the small fighters, inflicting some damage to them including damaging the weapons systems of the lead fighter. As the Cho’Ang moves to engage the station the Golden Ox moves to intercept the now free Pioneer but a sudden burst from the impulse engines brings our hero’s ship across the dorsal side of the Klingon cruiser. As they pass over it they let loose a flurry of phaser blasts, causing significant damage to it’s impulse engines and drawing it away from the station. Cho’Ang begins to maneuver away from the station and having sustained substantial damage begins making preparations to evacuate the system, abandoning their post. As they prepare to depart they unleash their main disruptor cannon against Pioneer, damaging but not disabling the ships main engines in an attempt to stop them pursuing.
The fighters continue to harass Golden Ox, peppering it with micro-photons and disruptor blasts as it swings round attempting to pursue Pioneer. As Cho’Ang begins to power it’s warp systems the team unleashes a volley of photon torpedoes from Pioneer and disable the Vor’cha’s main power systems, rendering them dead in the water. Pioneer secures the vessel in a tractor beam and begins towing them further into the base’s sphere of control. Having witnessed his ‘big gun’ be disabled and with the fighter’s breaking through his shields and damaging his sensor systems Grittle instructs Golden Ox to flee the system at warp.
Part 4 – Epilogue
As the team realises they have secured the system and unexpectedly secured the station with it Commander Rane communicates from Pioneer, congratulating the team and updating the two groups trade updates. As they are discussing what has happened Kaz suddenly asks to the room, “Did we stop the Auto Destruct?”.
Rane immediately orders Pioneer to back off with the Cho’Ang in tow as the team rush to their nearby consoles and [through a series of successful roles] secure the base’s autodestruct and in the process lock down the station with Starfleet Command codes. Satisfied that the base is safe, Commander Rane congratulates the team and advises that they will be joined soon by the USS Davidson to retake the base back into Starfleet Control; relief teams will be deployed to secure the base fully shortly.
As the team considers their recent mission and it’s unexpected turns Kaz comms Mr. D, still be hidden with the injured Lieutenant, to check in.
“Mr. D , is my patient still alive?”
“Ask him yourself sir.”
As the sound of a bemoaning Lieutenant comes across the comm channel it is mixed with the relieved laughter of our team.

 Bravo Fleet
